Blog
The Stuff
How to Print Envelopes on Your Canon, Ricoh, or Savin Printer
Posted On February 13, 2017 By Advance Blog
At Advance, we are very often asked to explain how to print envelopes on Canon, Ricoh, and Savin printers. Those who have worked in an office for a while know how tricky this task used to be…in fact, we’ve updated this post to include the most accurate information so that we can better answer your questions about Canon, Ricoh, and Savin envelope printing. The good news? It’s easier than ever!
Click here for step by step instructions that detail how to print envelopes on a Canon, Ricoh, or Savin printer!
Envelopes in the “copier” industry have historically been a bit of an uncomfortable subject. Some machines could handle them fairly well, while others couldn’t reliably handle more than one at a time. Initially, digital copiers had issues with jamming or mis-feeding, and when envelopes did print successfully, they were usually wrinkled and curled. There was also a challenge with setting up the file to print in the correct orientation.
Nowadays, the landscape is a lot less hazy. Canon and Ricoh/Savin both offer the ability to copy or print envelopes through the side bypass tray. Some of their models have also developed an envelope feeding option, allowing Tray 2 to internally process envelopes. It provides greater convenience and reliability over using the side bypass tray – not to mention the ability to hold and print a large amount of envelopes at a time.
Canon, Ricoh, and Savin Envelope Printing: A Simple 3-Step Process
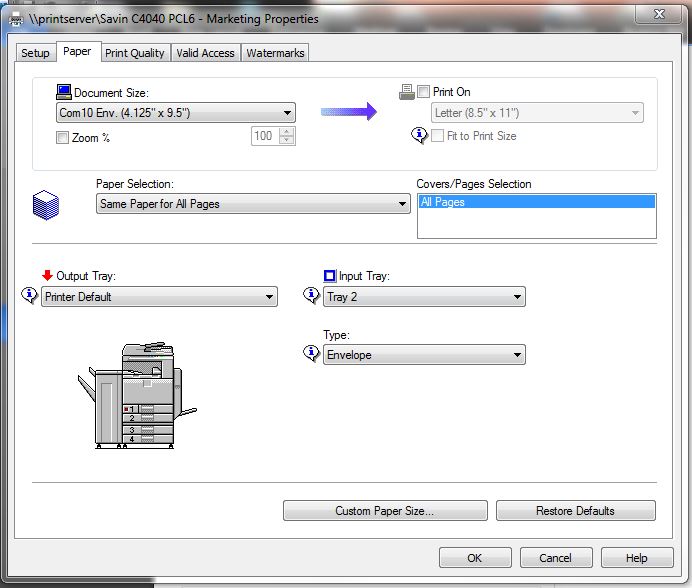
To begin printing your envelope, you must first setup your file to print under the right settings with your Ricoh, Savin, or Canon printer. To do so, open a new document within Microsoft Word and choose “File – Print”. Now, click “Printer Properties” and select the “Paper” tab.
Within Printer Properties, select the appropriate settings for “Document Size”, “Input Tray”, and “Type”. Your Document Size will coincide with the size of your envelopes (for more information on typical envelope sizes, click here). Choose whether you would like your envelopes to be printed from your Bypass Tray or from Tray 2. Lastly, set your Paper Type to “Envelope”. Select “OK” to save your settings. You can now return to your document to create your envelopes. Do not select “Print” at this time.
Activate the Envelopes and Labels Wizard by selecting the “Envelopes” option under the “Mailings” menu tab (please note that this function exists in Microsoft 2013 and 2016) and fill in your mailing and return addresses. Select the “Options” menu to adjust the Envelope size and print position. Under “Printing Options”, you can confirm how your envelopes will be fed from your specific printer.

By choosing “Options” you are able to change the look and style of your envelope. You may also designate your chosen envelope size and redirect your envelope to be printed from a different tray than has been automatically selected.
Click here for detailed instructions for envelope printing with Microsoft Word.
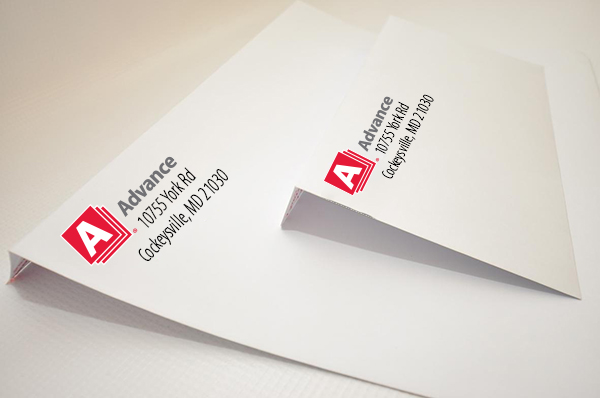
After choosing all of your settings in Microsoft Word, it is time to load your envelopes into the designated tray for printing. As this sometimes gets a little tricky, we have compiled a downloadable (and certainly printable!) guide to configuring your printer’s settings in order to get the best envelope printing available for your machine.
To download a copy of our step by step instructions that detail how to print envelopes on your Canon, Ricoh, or Savin printer, please click here!